Project 3: Design + Rapid Prototyping
Problem(s)
- Design a product using traditional prototyping methods
- Convert prototype to a 3D printable STL file
Grade Levels
- Can be adjusted for youth (4 - 10), preteens (11-15), and teens (16-19) or skill level
Outcomes
Students will be expected to...
- Safely create a prototype using cardboard and found materials
- Test and improve their design(s)
- Use TinkerCAD to create a 3D printable version of their prototype
- Export their design(s) as a printable STL file(s)
- Print their prototype
- Test and complete any modifications to their STL file
- Share their file with others (Thingiverse or YouMagine)
Rationale
The purpose of this exercise is for students to see the connection between new and existing methods of rapid prototyping. In a world of 3D printers and laser cutters it is still important to grab available materials and to use the iterative design process to create a functional design. Creating real prototypes first will also help students to understand the 3D CAD and printing processes.
Materials
- Cardboard
- Scissors, tape, and other craft supplies as needed
- TinkerCAD/PC
- 3D Printer (Any make or model)
- 1-2 kg PLA or ABS Filament - Any Colour (Most printers will use PLA)
- 3M Blue Painters' Tape
- Utility Knife
- Unscented Hairspray (Extra Hold)
Procedure / Steps to Completion
- Model
- Identify the problem you want to solve (ex. Make my iPhone speakers louder)
- Measure or find the dimensions of an iPhone online
- Using cardboard, or found materials, create a quick prototype
- In this design cups and a paper tube are used to amplify the phone's speakers
- Test your design and identify areas you need to fix
- Repeat these steps until the prototype functions

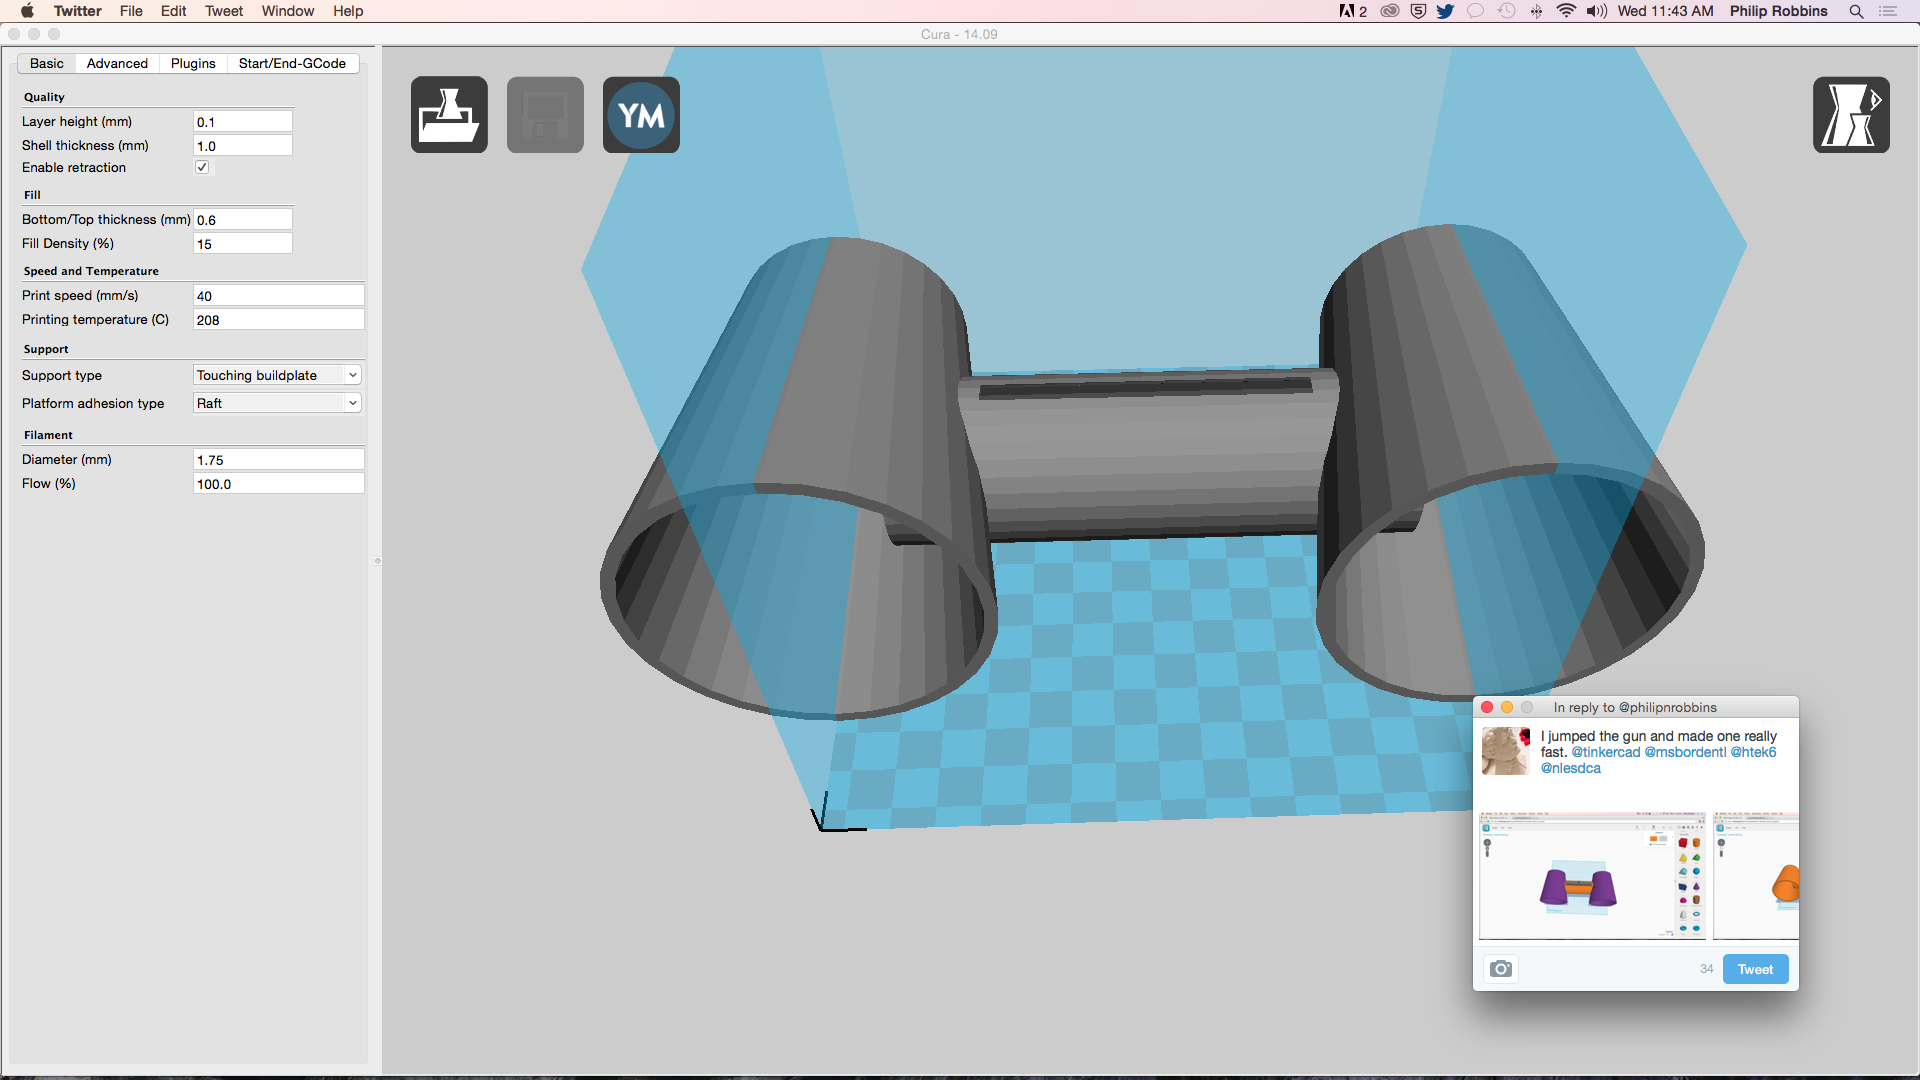
Image courtesy of Mrs. Leigh Borden on Twitter
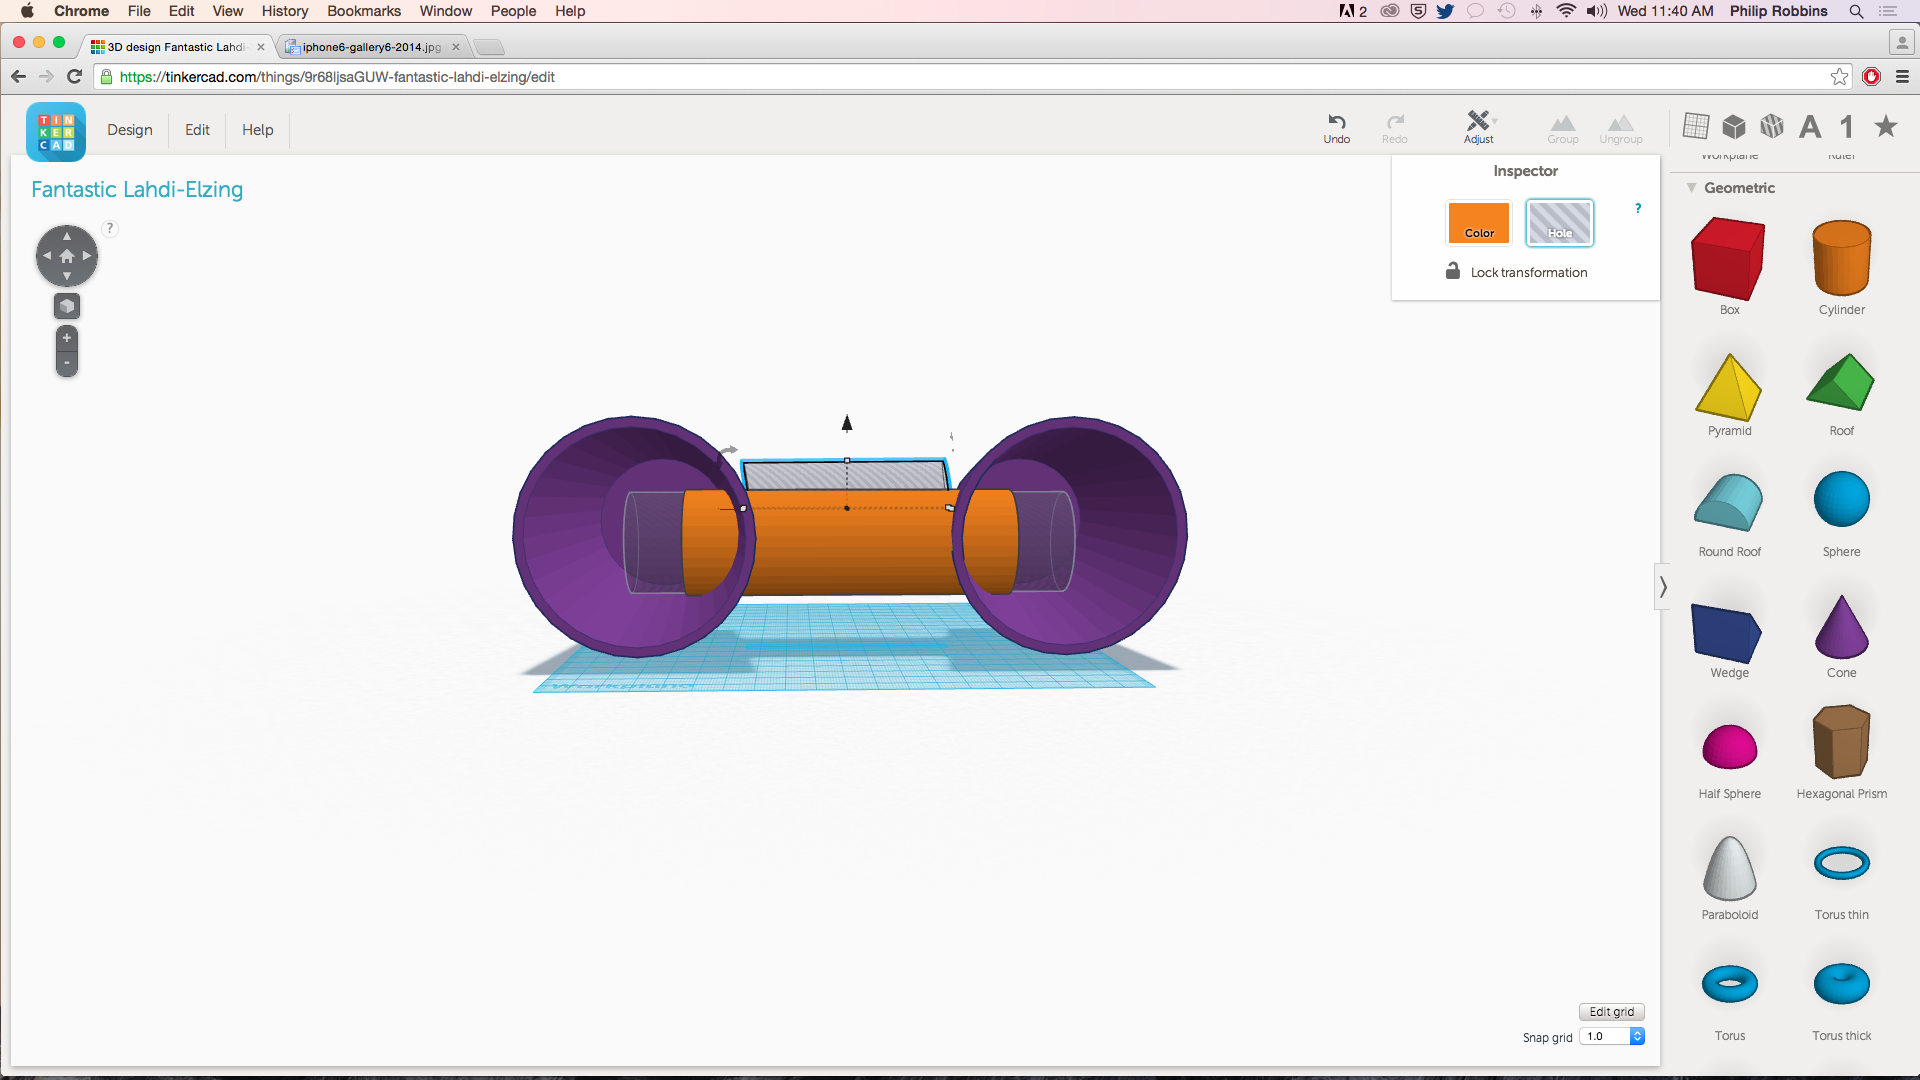
- Render in 3D
- Launch TinkerCAD
- Create a Cylinder (Use the dimensions of a paper tube; 11.2cm x 4cm) and rotate it to be horizontal
- Copy and paste this cylinder
- Change of the second cylinder's dimensions to me 2mm smaller than the original
- Change this object to a hole
- Align this new hole cylinder to be centered within the original tube
- When grouped this will create a hole
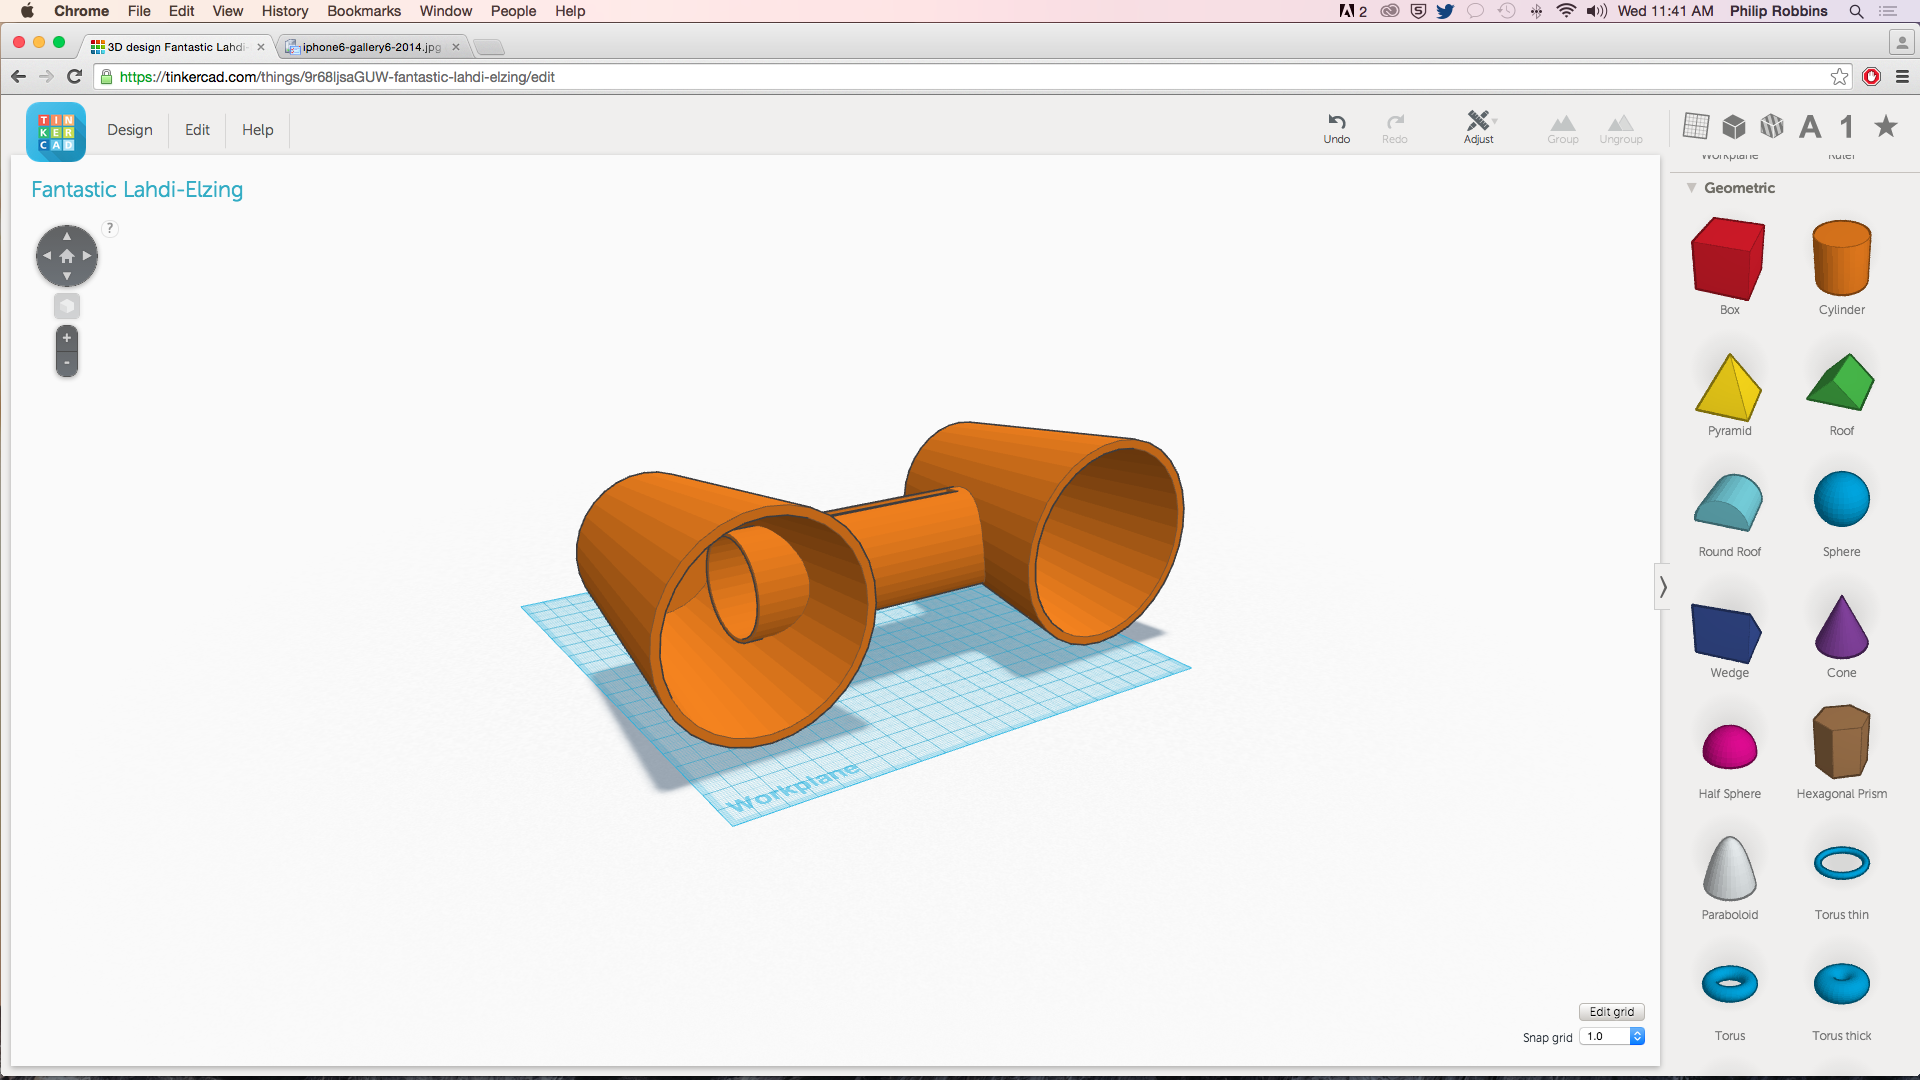
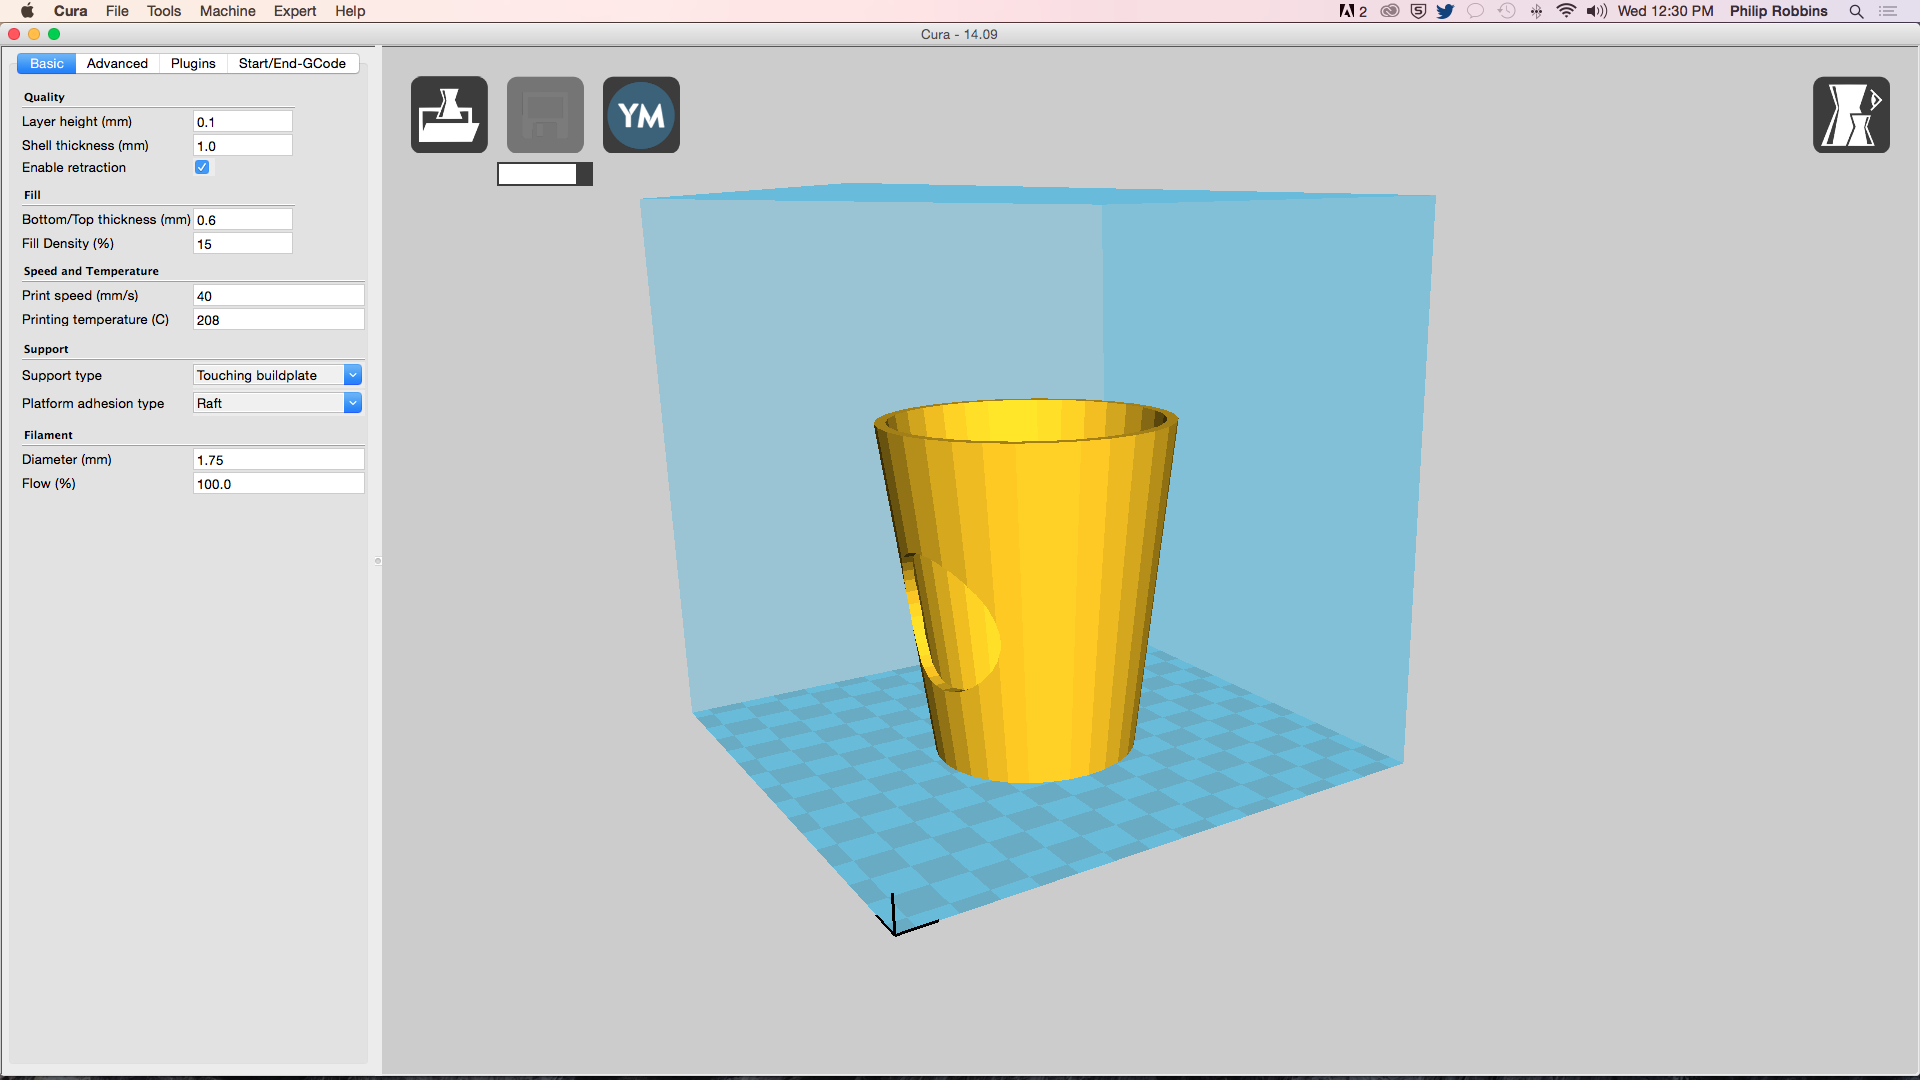
- I created my cups by using a Cube-hole to cut the bottom off of a Cone (This created the Cup)
- Use the dimensions of a paper cup to size your cup
- Copy and Paste your new cup
- Using your knowledge of holes create the iPhone hole using the dimensions of an iPhone and a Cylinder Hole


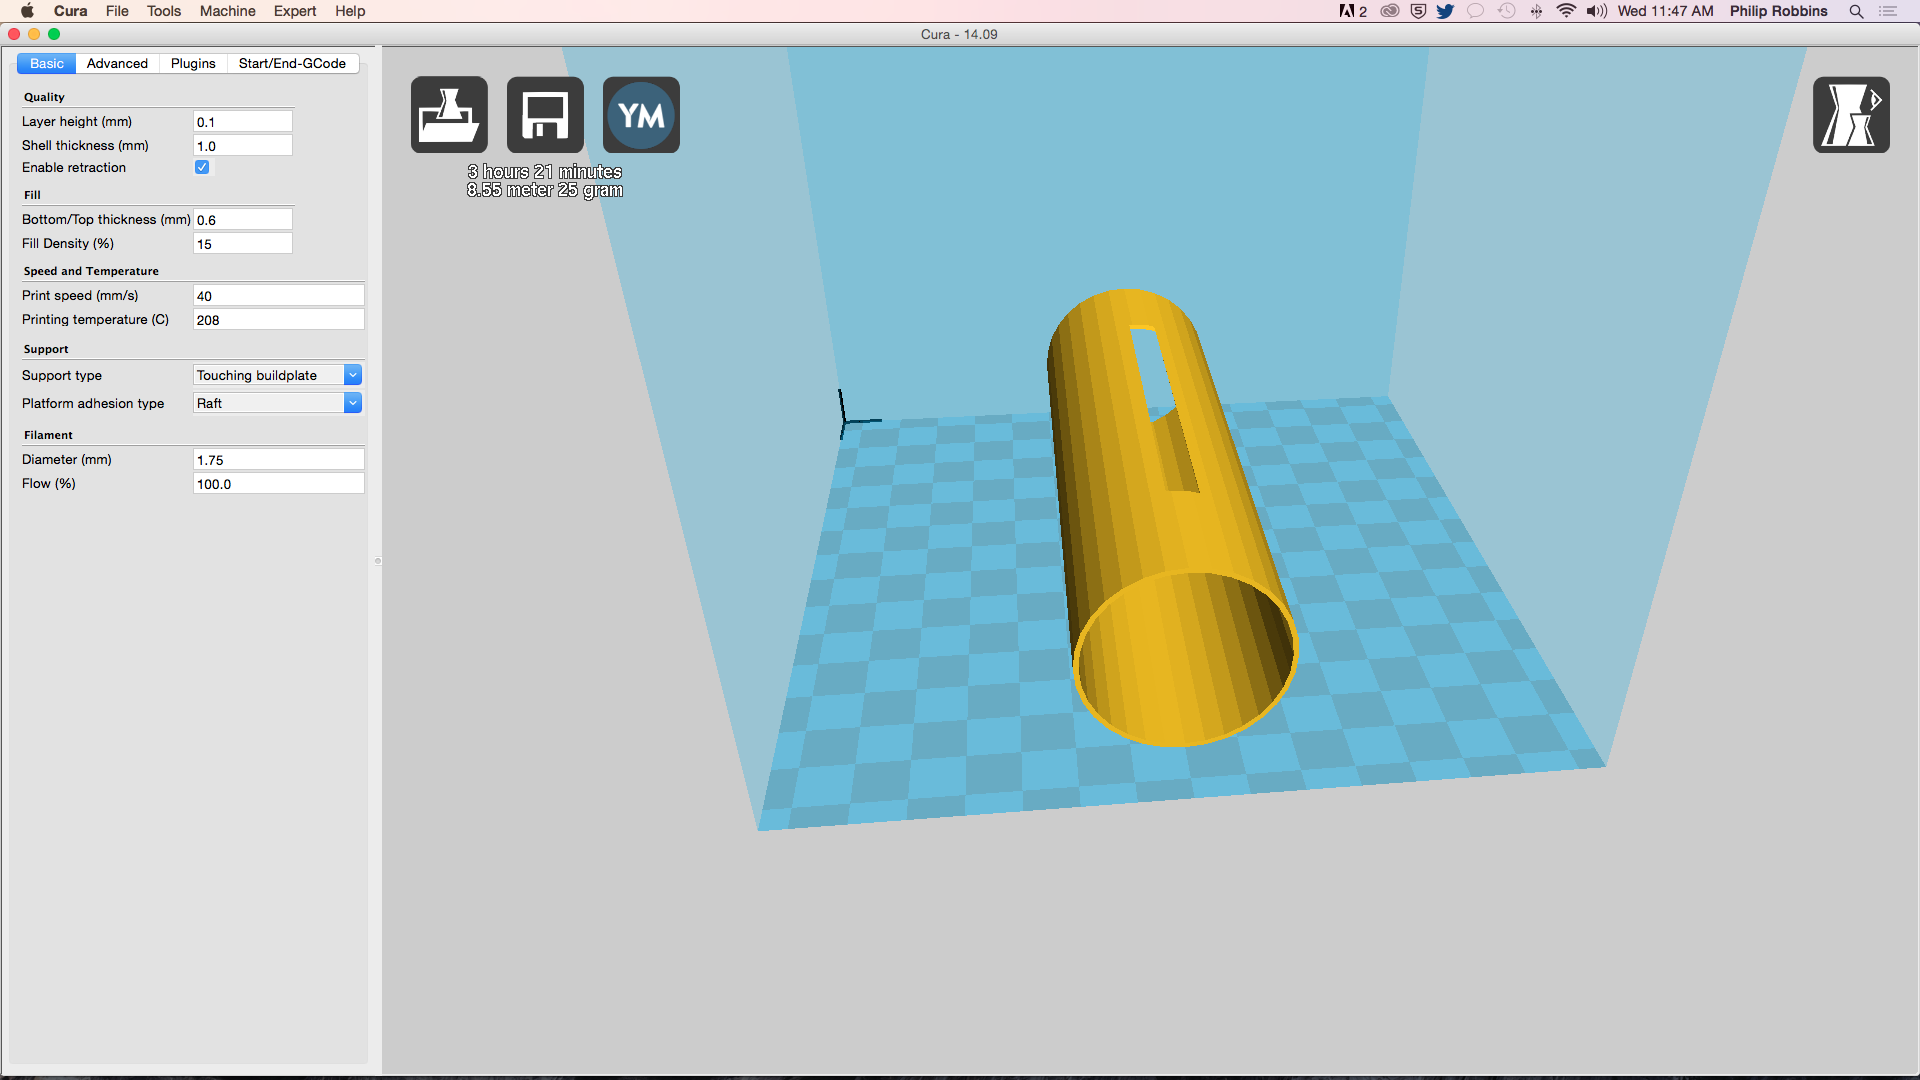
Export and Print
- Once you have made your model export a printable STL file
- Note: To export this model I had to play around with the model and export 3 times to make the 3 parts
- The parts have to have holes to allow the sound through and the parts need to fit together
- The parts also need to fit on your printer bed (ex. 150mm x 150mm x 150mm)

Note: It is important to know what your problem is first before you start designing solutions.