Project 1: 3D Portraits
Problem
How do you teach visual arts students how to use a 3D printer?
Materials
- 3D Printer (Any Make or Model)
- Owner's Manual or Introductory Website from the Manufacturer
- 1kg PLA or ABS Filament - Any Colour (Most printers will use PLA)
- 3M Blue Painters' Tape
- Utility Knife
- Unscented Hairspray (Extra Hold)
Software
- Cura by Ultimaker
- Repetier
- 123D Catch by Autodesk
- NetFabb Basic
- TinkerCad by Autodesk
- Meshmixer by Autodesk
- Blender (3D Cad)
Outcomes
You will be expected to...
- Connect your 3D Printer to your Mac/PC
- Differentiate between PLA and ABS filament
- Identify the type of printing (FDM) that we will be using
- Adjust your X, Y, Z Axis in hardware/software (As needed)
- Download, Scale, and Print a pre-made STL file
- Create a 3D mesh your own Head
- Export that mesh as an STL file
- Repair an STL file as needed to make it printable
- Print an STL file that you have exported
Rationale
The purpose of learning about 3D printers, their hardware, software, and to experiment with the wide assortment of printing media also-known-as printing filament (ex. PLA can be coloured, made of wood, or made to look and act like bronze) is to prepare students for the realities of the contemporary art-world. As educators, we currently prepare our students with lessons in drawing, colour theory, painting, photography, printmaking, and ceramics, eventually we will have to add 3D printing, electronics and circuitry, and computer programming or coding to our core arts curricula. In every major gallery we can find examples of 3D printing and it does not appear to be going anywhere soon.
Safety
- Use 3D printers in a well ventilated area
- The 'Hot End' of the 3D printing head gets very hot, DO NOT TOUCH
- Use common knife and general safety procedures around a 3D printer
- PLA is biodegradable and is made of corn starch, but do not ingest
- Do not use a 3D printer without training or without advising a teacher/la
Manufacturer Manuals or Tutorials
- Printrbot DIY Makers' Kit
- Printrbor Simple Metal
- Makerbot Replicator (5th Gen)
- Cubify: The Cube
- Tinkerine: Ditto Pro (Canadian)
- Ultimaker 2
Possible Classroom Topics
- What is 3D printing or a 3D printer?
- What are they used for?
- How are artists using 3D printers?
- How to set up the printer (Plug it in, check that the motors are homed, check the Z-Axis, and how to print a configuration cube)
- How to download or create an STL file
- How to use TinkerCAD to create an STL file
- Printing your first file
- Troubleshooting common issues (ex. Z-axis is too high, table was not level, or a raft, brim, or support material should have been used)
- DIY Lesson #1: Create your own 3D portrait
Resources
- What is 3D Printing
- What is a Raft, brim, skirt, or support material?
- Tips for the first time 3D printer
- What is Slic3r? (Also discuses common terms)
- Questions About 3D Printers
- How-to Get Started with 3D Printing
- Filament Buyers Guide
- Filament: Beyond PLA
- Types of 3D Printers
- Tapes: Kapton or 3M's Blue Tape?
Anatomy of a 3D Printer (Printrbot Simple Metal)

Lesson Suggestions
- Print Museum or Gallery Generated STL Files
- Print your own portrait in 3D
- Create your own rubber stamps (printmaking)
3D Portrait Project
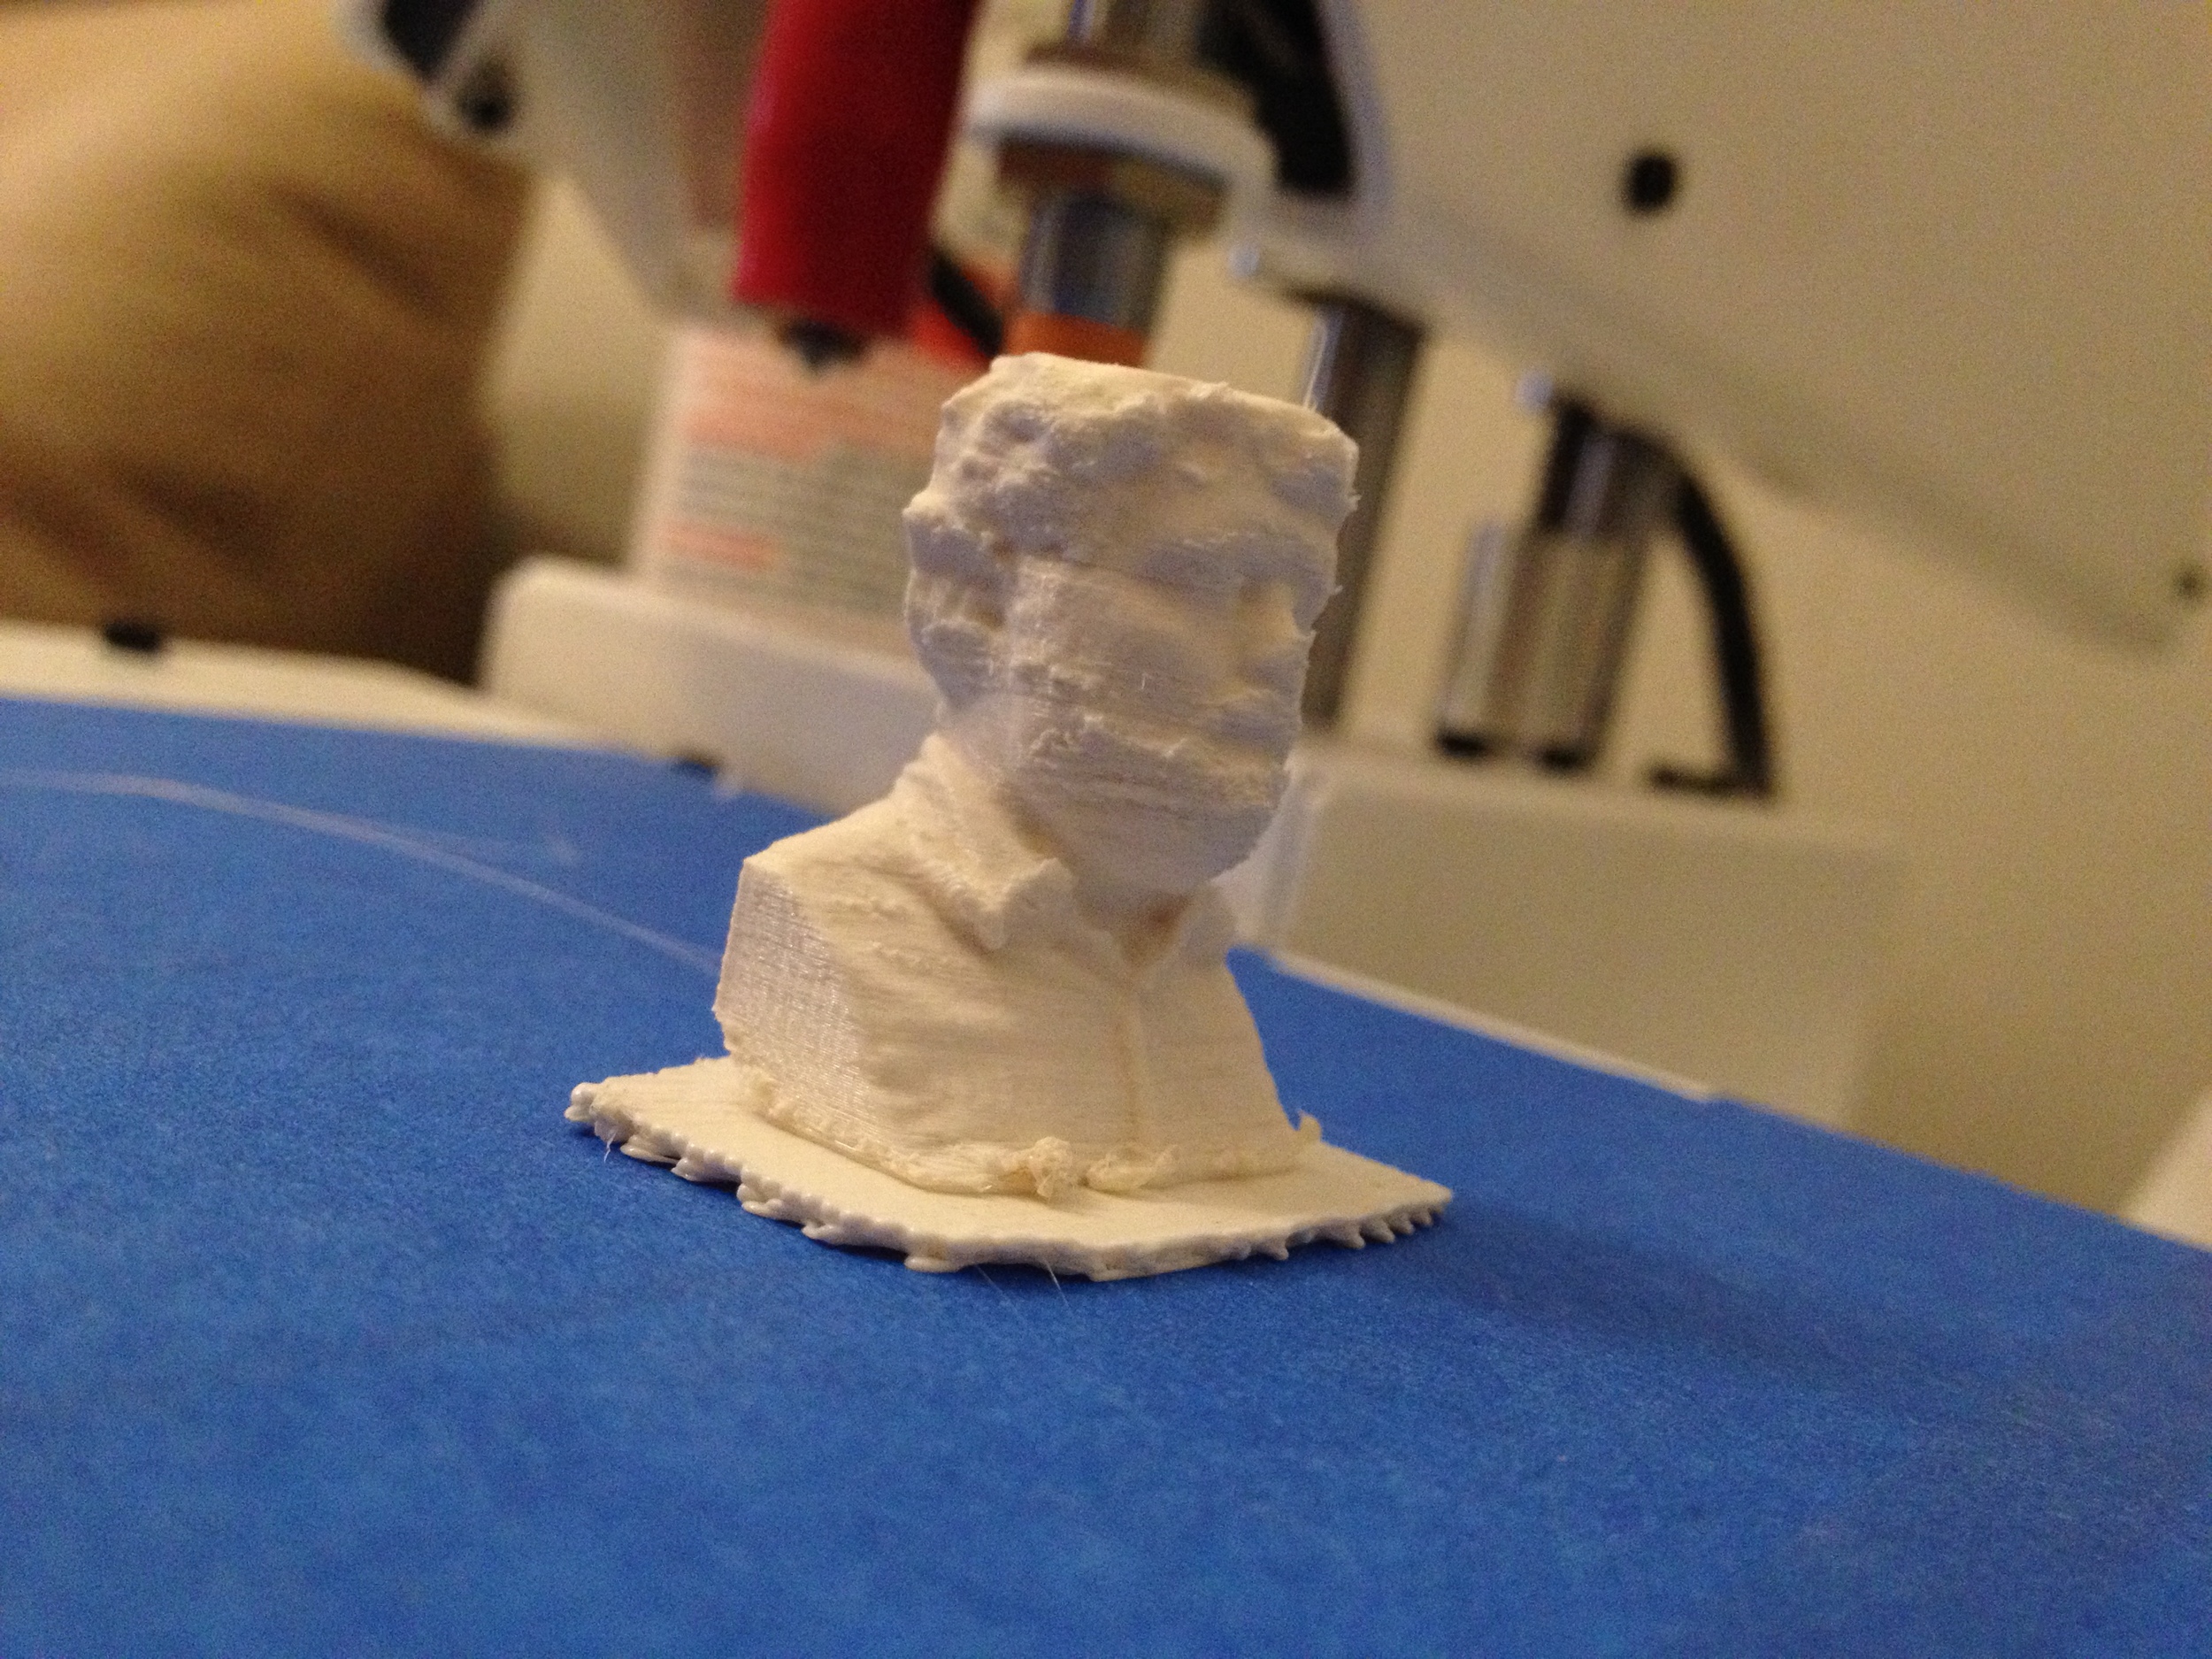


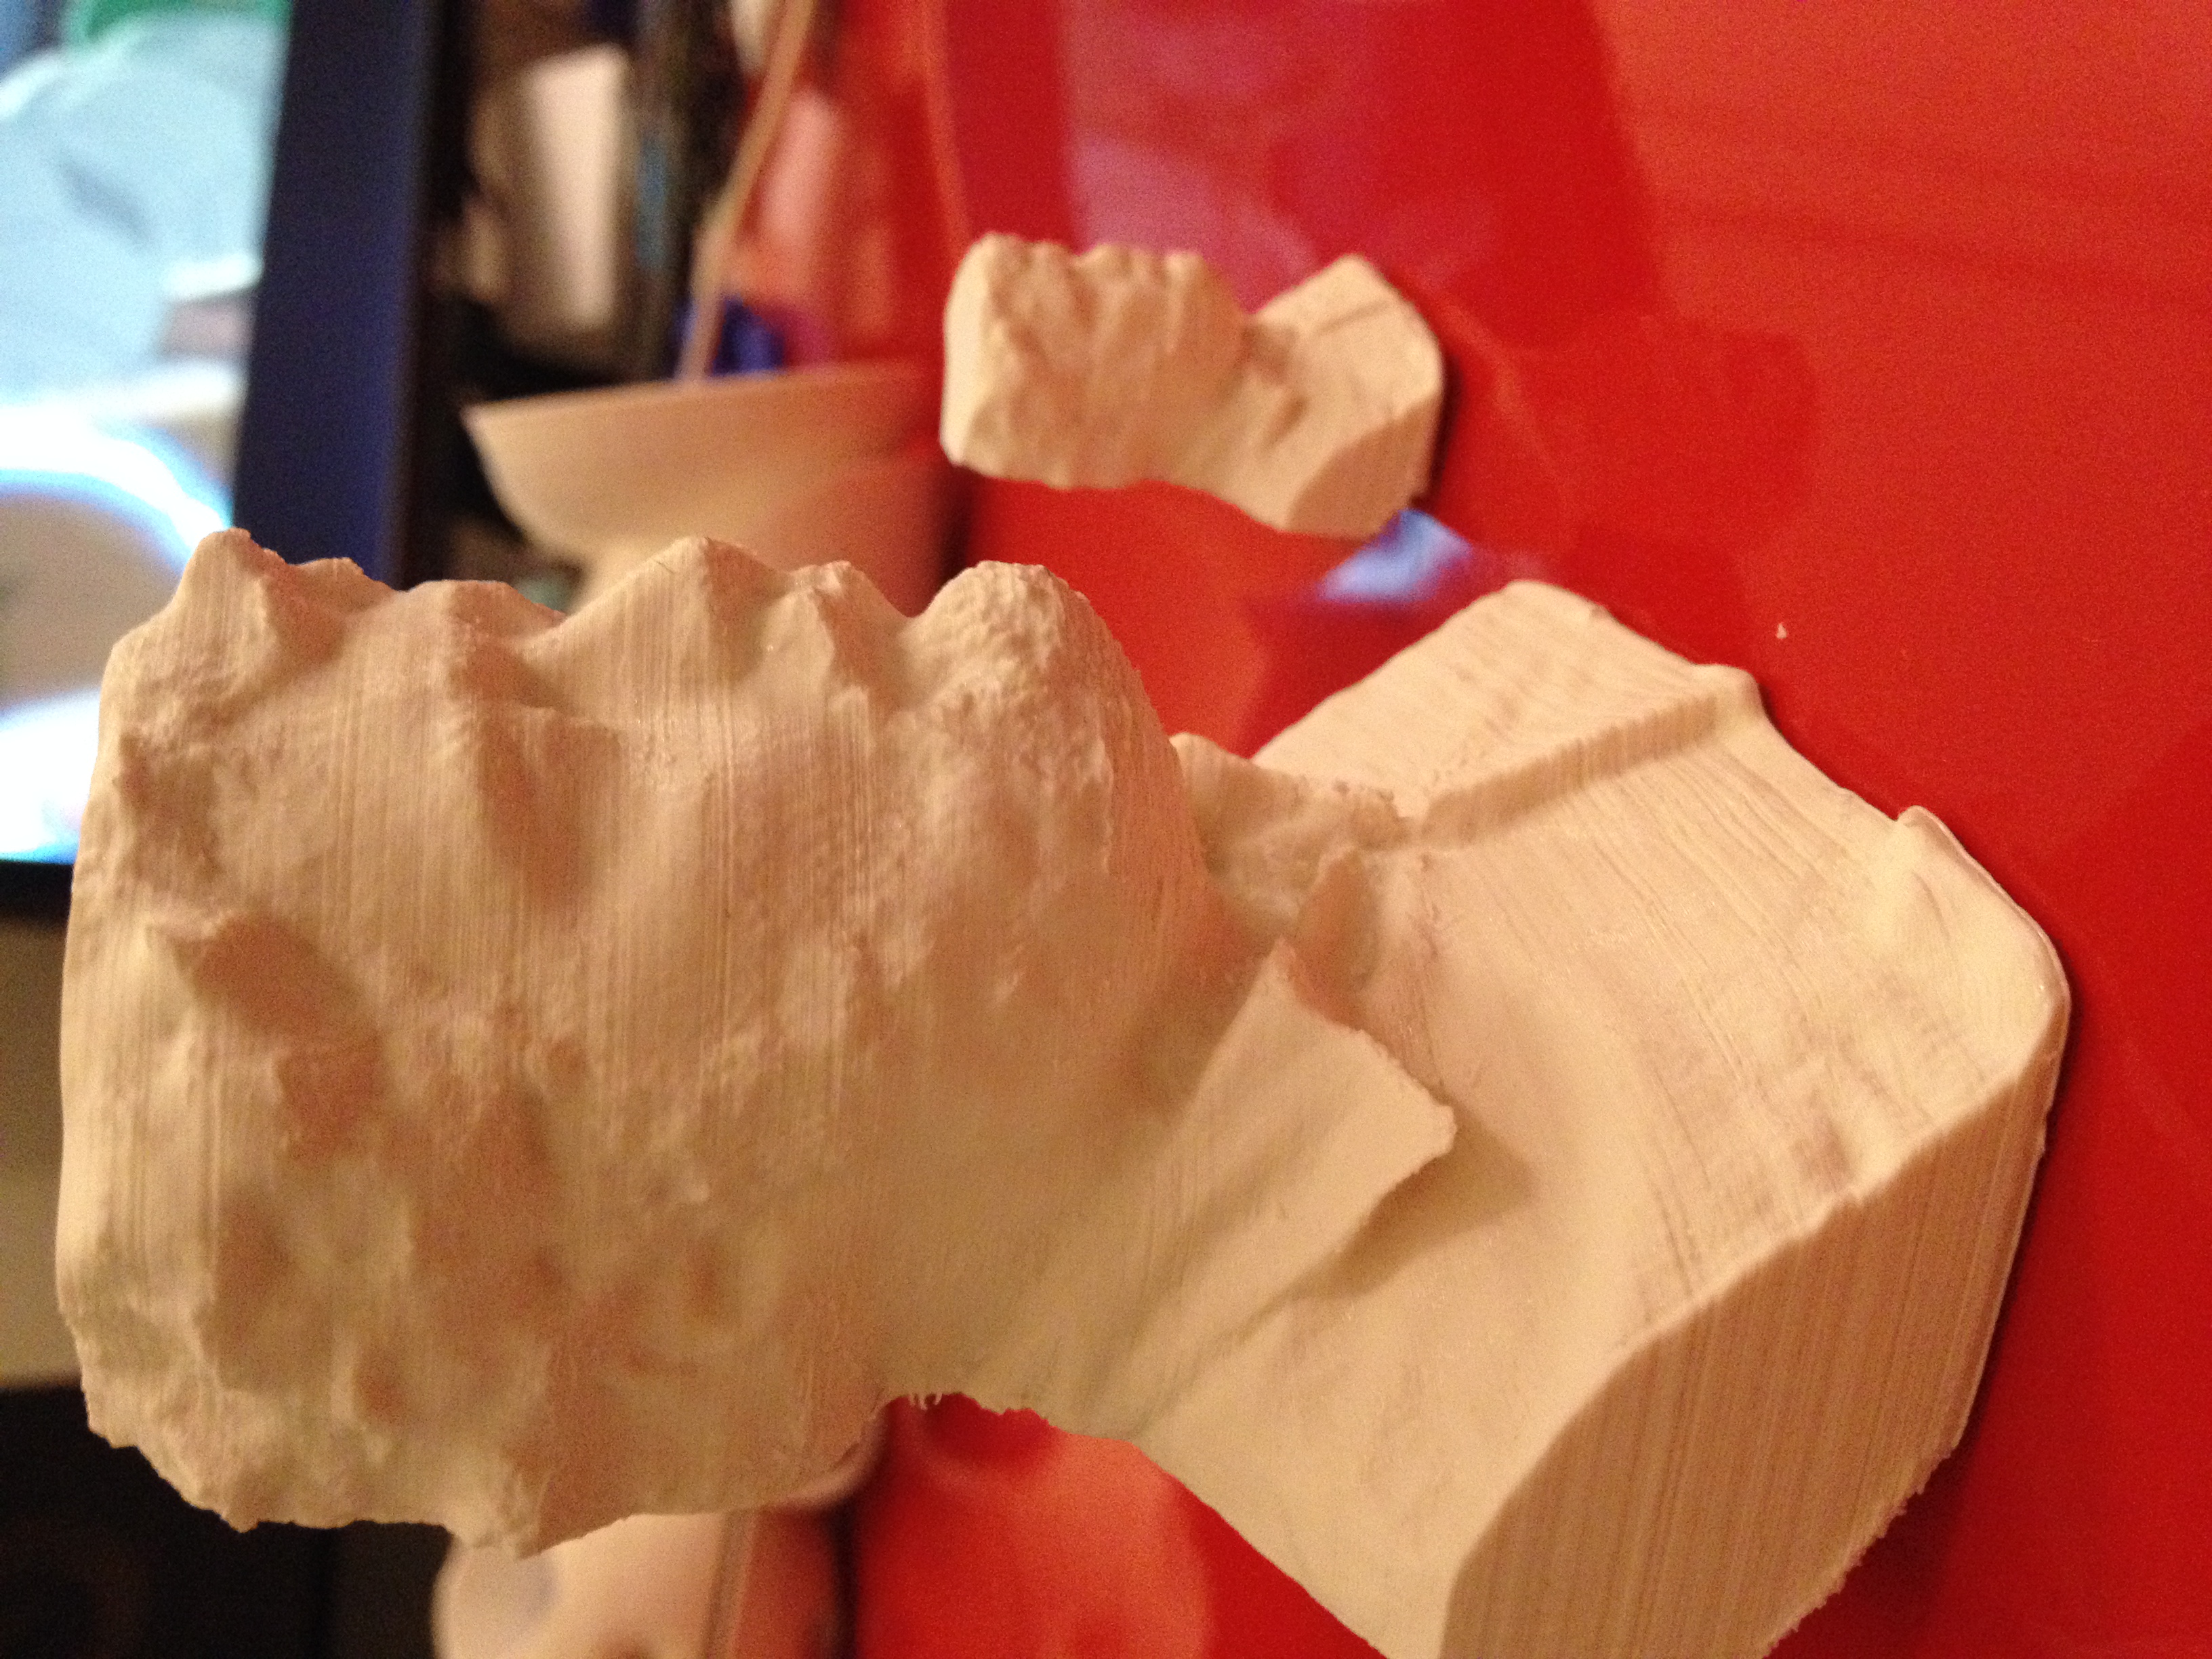
Click the above images for additional images.
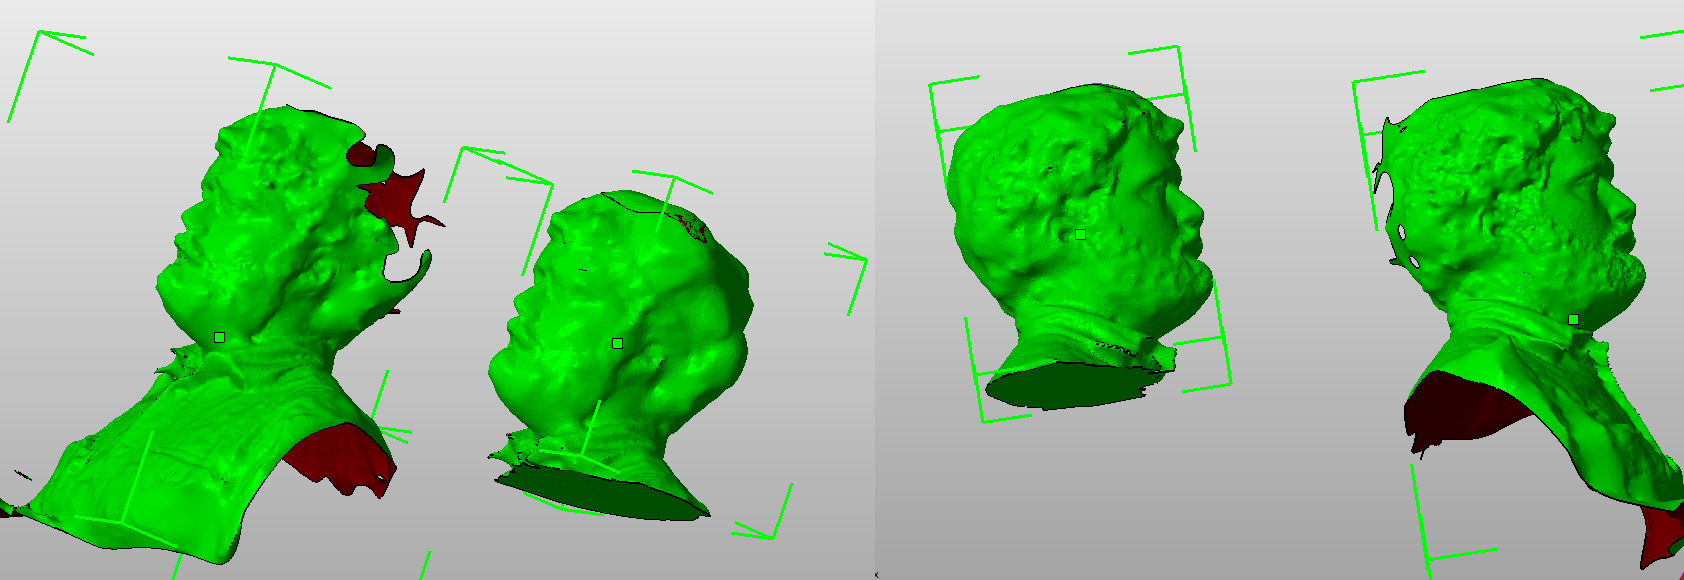
Fixing your 3D Mesh

Head on the far left is the original (note the gunshot-like hole) which needed repairing
- I had to make a printable base (notice the original has no solid base)
- I also had to repair the mesh (close the hole in my head)
- Both of these steps were completed in Netfabb, Meshmixer, and Blender please see this video for details
Lesson Specific Links
Additional CAD Tutorials
- Tinker Cad 1: Simple Ring (Challenge: Add a face or design)
- Tinker CAD 2: Name Tag (Challenge: Make a custom baggage tag)
- TinkerCAD 3: Rounded Box (Challenge: Personalize it)
- Advanced: Make a Cup in Blender
- Advanced: Custom 6-legged Creature in MoI 3D
Printrbot Pro Tip
If you would like to change colours often, please print this extruder cover for your Printrbot. You will save your thumbs and you will change filament types/colours far more often without fear of impending pain.
Note: Students are encouraged to 'hack' or 'mod' their projects!